 My daughter is one messy little character, and she has been doing a lot of her in-home ABA therapy at our dining table, thus the upholstery on my chairs has been taking a lot of abuse. I am refreshing the double parlour where the table is with new paint this week, so it seemed the perfect time to reupholster my dining chairs as well. It is an inexpensive and easy DIY project, so if yours are looking a bit shabby too, don't be shy about reupholstering them.
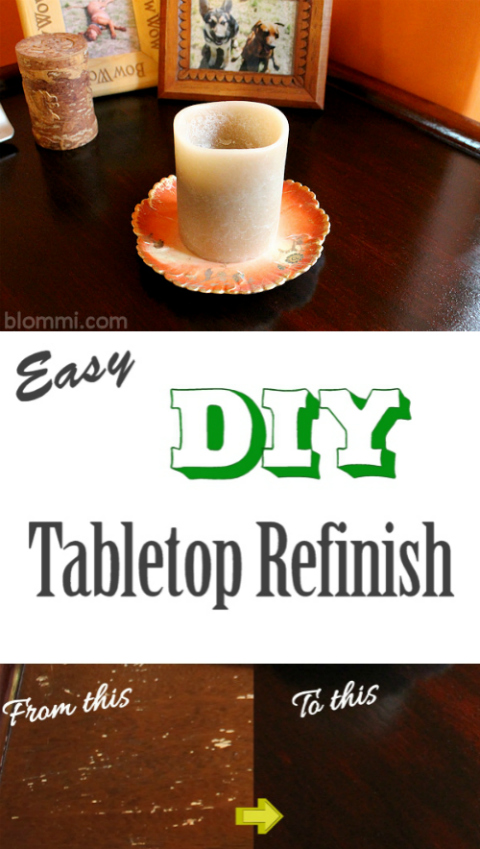
 This is what the chairs looked like before. The material on the edges was starting to show some wear, and the pretty gold fabric that I had picked, prior to having my daughter, wasn't cleaning up so well anymore. I needed something more durable, and less apt to show every little stain. I guess we could say, I needed kid friendly fabric.
What You Need to Reupholster Dining Chairs
Upholstery Fabric ( 2 to 2 ¼ yards of 54" fabric should cover 6 seats, if you have a pattern that requires particular alignment you will need more)
Scissors
Staple Gun and staples (I used ⅜")
Phillips head Screwdriver
Flat Head Screwdriver or staple puller
Pliers
Money saving tip: Rather than going straight to the large rolls of decorator fabric, shop the remnant section for upholstery. This project does not require a large amount of fabric, pieces of premium material the size we need can be found there at a small fraction of regular price.
 Flip the chair over, and unscrew the padded seat from the chair frame. If manufacturer upholstery is not bulky, you can probably reupholster right over it, if not, or like I have here, the seat has been reupholstered post-production, you will need to remove the old covering. Hopefully, the last upholstery job wasn't done by a crazy staple-happy broad like me. As you can see, I was perhaps a little over-zealous in my usage of the staple gun, when I did these last time...lol. Just take a staple puller or flat head screw driver and lift out the staples. Holding a finger over the staple, while you wiggle your tool under it, will avoid one side popping up and leaving the other stuck. If that should happen, just tug it out with pliers.
 Take the padded seat and line it up on your fabric, cut out a piece with ample room to staple. Put a couple staples in the center of one side, then pull fabric taught and put a few in the center of the opposite side. Work back and forth, until most of those two sides are done, but leave a few inches on the ends. Repeat the process on the other two sides.
I have found that rather than folding a large chunk of fabric at the corners, making smaller pleats, and pulling them nice and taught makes for nicer looking corners. It also creates a little less bulk, which makes reattaching the seats to frames easier.
I then simply trim away excess material, leaving some room so it won't unravel. This won't be visible once chair is reassembled, so I leave them like this. If it bothers you, you can line it with muslin or inexpensive lining fabric. Cut the seat shape, iron edges under, glue on and put a few staples.

Give the frame a quick wash down while cushion is off, then line the seat up, and screw it back on from underneath. That's it, your done.
Now I am ready to repaint the room. From orange to orange...lol. I am going with a richer shade this time though.


Lynsey @MoscatoMom says
I have been meaning to do this for MONTHS on our dining room chairs. This may be just the inspiration I need to finally DO it lol
Beeb Ashcroft says
I love it, that turned out great!
Holly says
OH I needed this to redo my son's chair. The cat has attacked its burlap type fabric.
Heather says
Looks awesome! It's always nice to give new life to things that are in otherwise good condition. Nice job!
Karen says
This is on my list of things to do someday, too. Your chairs look great, by the way!
Rebecca Orr says
You did a great job. This looks easy enough to do. My mom did this with her dining chairs when I was younger and it made such a huge difference!
Robin Gagnon says
Yes, it really is a simple project. Just take your time to make sure the fabric is taught.
Nancy Eakin says
Do you cut the new pad the same exact size as the wood underneath?
Robin Gagnon says
I did not replace the actual padding in this project. When I did an Eastlake Rocker a few years earlier, I did cut the foam slightly bigger (like a 1/4 inch). It then need to be firmly covered with muslin to shape and secure it before adding your upholstery cover, otherwise the form or the foam may show through.
Foam only needs to be replaced if damaged or fouled.
If you meant the fabric, you need to cut it larger than base.