Newsletter
Easy Recipes
Straight to your inbox!
Sign Up!
↑
Recipe Index
Food
Dinners
Chicken
Seafood
Beef
Pork
Eggs
Pasta
Sausage
Instant Pot
Desserts & Sweet Baked Goods
Cookies
Cakes
Candy
No Bake Desserts
Cupcakes
Muffins
Pies ~ Tarts
Quick Breads
Appetizers
Salads
Sandwiches
Soups, Stews & Chilis
Sides
Casseroles
Breakfast
Sauces and Condiments
Vegetarian
Gluten Free Recipes
Savory Baked Goods
Keto
Drinks
Cocktails
Non-Alcoholic
Lifestyle
Health
Crafts
Garden
Decor/Renovations
Holidays
Easter
4th of July
Halloween
Thanksgiving
Christmas
Valentine's Day
St Patricks day
Search...
Skip to primary navigation
Skip to main content
Skip to footer
Mom Foodie
Easy Family Recipes, Drinks and Healthy Lifestyle
Search...
Recipe Index
Food
Dinners
Chicken
Seafood
Beef
Pork
Eggs
Pasta
Sausage
Instant Pot
Desserts & Sweet Baked Goods
Cookies
Cakes
Candy
No Bake Desserts
Cupcakes
Muffins
Pies ~ Tarts
Quick Breads
Appetizers
Salads
Sandwiches
Soups, Stews & Chilis
Sides
Casseroles
Breakfast
Sauces and Condiments
Vegetarian
Gluten Free Recipes
Savory Baked Goods
Keto
Drinks
Cocktails
Non-Alcoholic
Lifestyle
Health
Crafts
Garden
Decor/Renovations
Holidays
Easter
4th of July
Halloween
Thanksgiving
Christmas
Valentine's Day
St Patricks day
Decor/Renovations
Home
»
Recipes
»
Home & Garden
Solar Skull and Roses Wreath - Halloween Dollar Store Craft!
Bedroom Plants - 7 Best Plants for a Restful Sleep
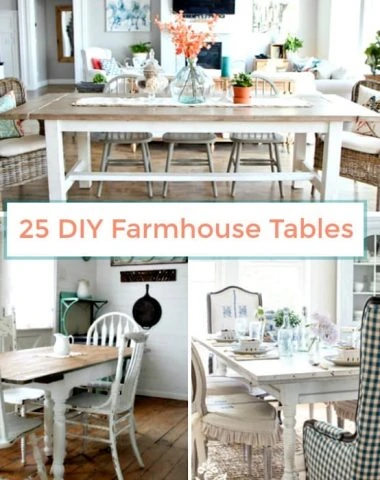
25 Beautiful DIY Farmhouse Tables
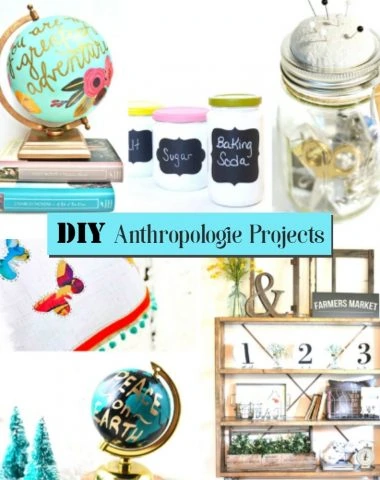
20 DIY Anthropologie-Inspired Home Decor Projects
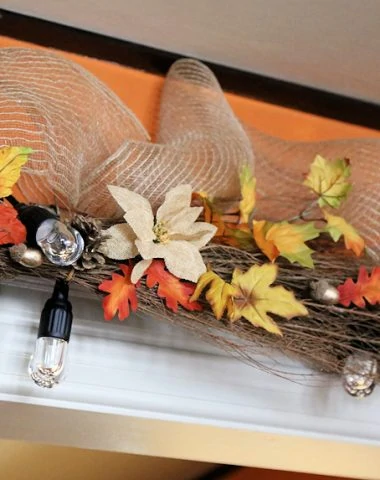
DIY Cinnamon Broom Fall Garland with Cafe Lights
Watering Can Flower Arrangement: Easy DIY Mother's Day Gift
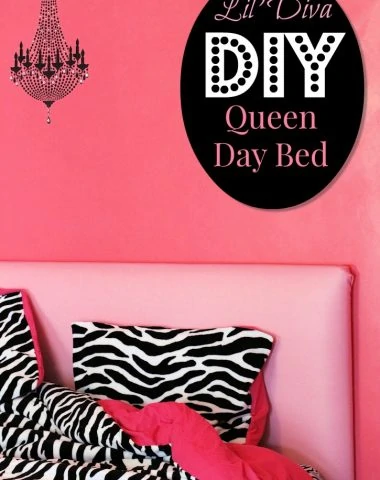
Little Diva DIY Queen Day Bed
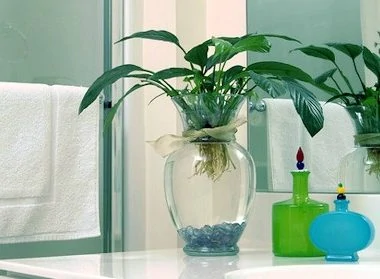
Best Houseplants to Filter Toxins in Your Bathroom
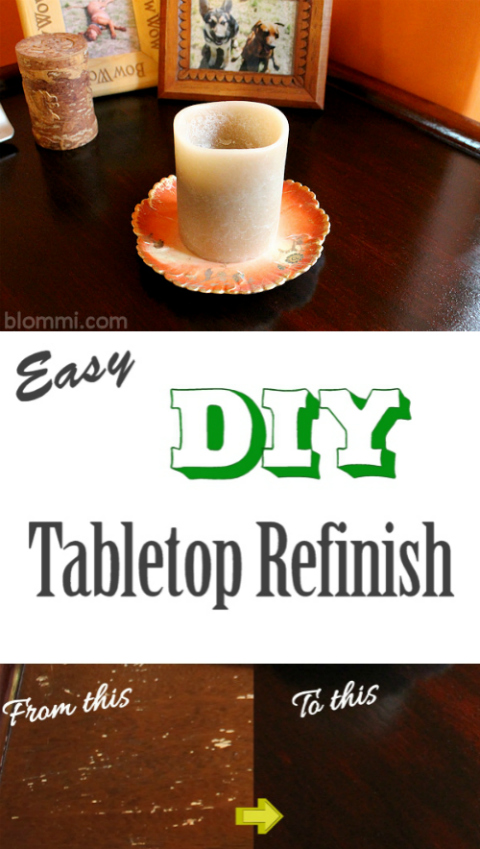
How to Refinish a Table Top the Easy Way
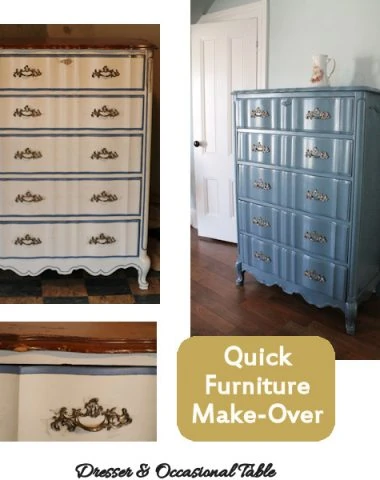
Quick & Easy Furniture Make-Overs with Spray Paint
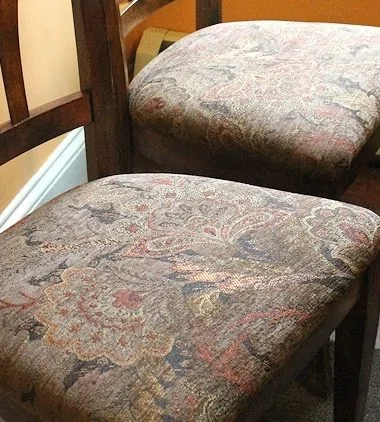
Reupholster Your Dining Chairs: An Easy DIY Project
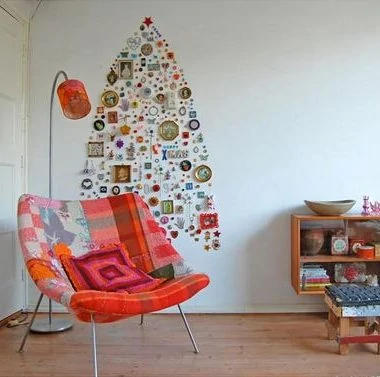
Beautiful Alternatives for Those Without Space for a Christmas Tree
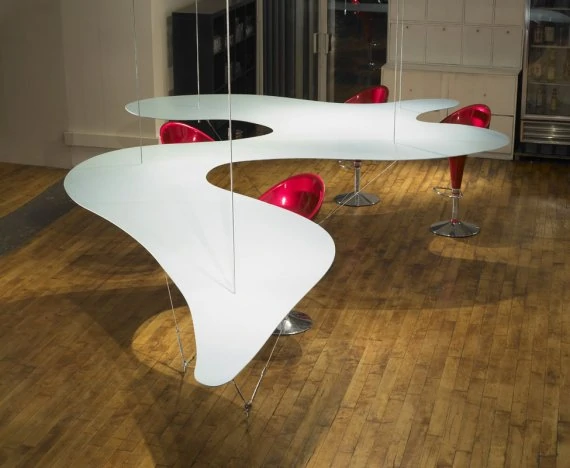
Unusual Dining Tables
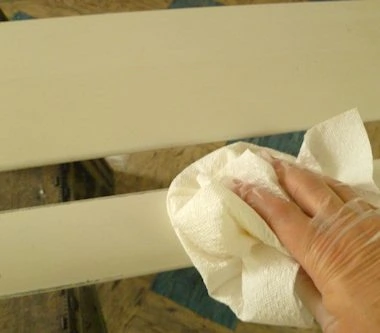
Painting Baseboard Heat Covers
About
Privacy
Contact
Mom Foodie is a participant in the Amazon Services LLC Associates Program, an affiliate advertising program designed to provide a means for sites to earn advertising fees by advertising and linking to Amazon.com