Newsletter
Easy Recipes
Straight to your inbox!
Sign Up!
↑
Recipe Index
Food
Dinners
Chicken
Seafood
Beef
Pork
Eggs
Pasta
Sausage
Instant Pot
Desserts & Sweet Baked Goods
Cookies
Cakes
Candy
No Bake Desserts
Cupcakes
Muffins
Pies ~ Tarts
Quick Breads
Appetizers
Salads
Sandwiches
Soups, Stews & Chilis
Sides
Casseroles
Breakfast
Sauces and Condiments
Vegetarian
Gluten Free Recipes
Savory Baked Goods
Keto
Drinks
Cocktails
Non-Alcoholic
Lifestyle
Health
Crafts
Garden
Decor/Renovations
Holidays
Easter
4th of July
Halloween
Thanksgiving
Christmas
Valentine's Day
St Patricks day
Search...
Skip to primary navigation
Skip to main content
Skip to footer
Mom Foodie
Easy Family Recipes, Drinks and Healthy Lifestyle
Search...
Recipe Index
Food
Dinners
Chicken
Seafood
Beef
Pork
Eggs
Pasta
Sausage
Instant Pot
Desserts & Sweet Baked Goods
Cookies
Cakes
Candy
No Bake Desserts
Cupcakes
Muffins
Pies ~ Tarts
Quick Breads
Appetizers
Salads
Sandwiches
Soups, Stews & Chilis
Sides
Casseroles
Breakfast
Sauces and Condiments
Vegetarian
Gluten Free Recipes
Savory Baked Goods
Keto
Drinks
Cocktails
Non-Alcoholic
Lifestyle
Health
Crafts
Garden
Decor/Renovations
Holidays
Easter
4th of July
Halloween
Thanksgiving
Christmas
Valentine's Day
St Patricks day
Food
Appetizers
Breakfast
Casseroles
Desserts
Dinners
Featured
Gluten Free Recipes
Grill
Instant Pot
Keto features
light recipes
Pasta
Salads
Sandwiches
Sauces and Condiments
Savory Baked Goods
Sides
Slow Cooker
Snacks
Soups, Stews & Chilis
Vegetables
Home
»
Recipes
»
Food
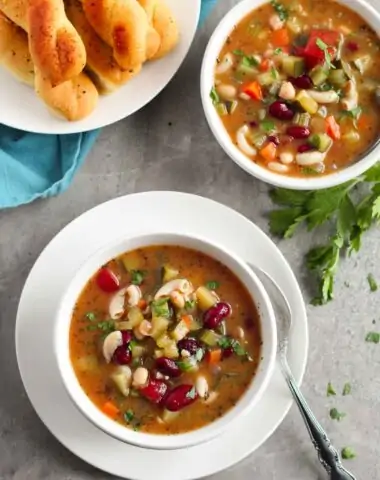
Olive Garden Minestrone Soup Recipe Copycat
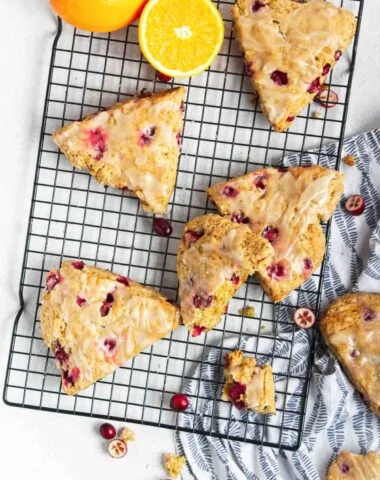
Cranberry Orange Scones Recipe
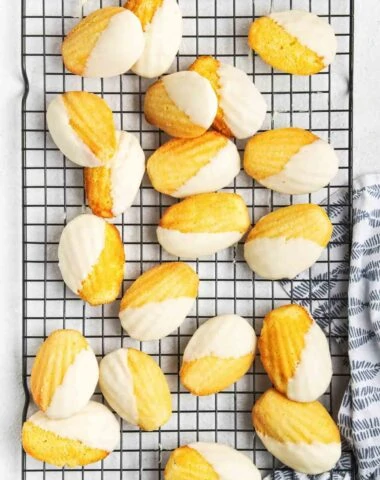
Lemon Madeleines Recipe
Eggnog Bread Pudding Recipe
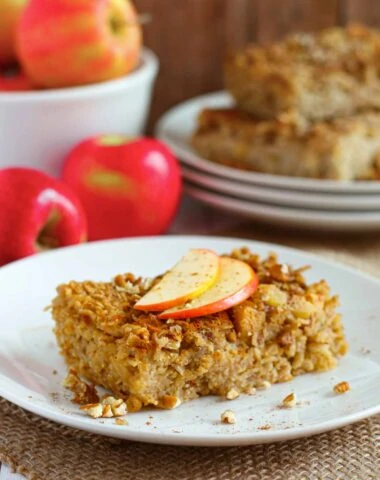
Baked Apple Oatmeal
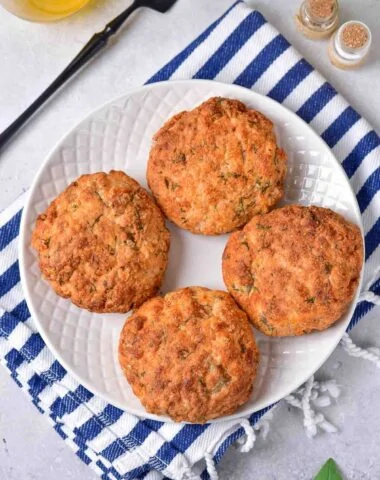
Air Fryer Salmon Patties Recipe
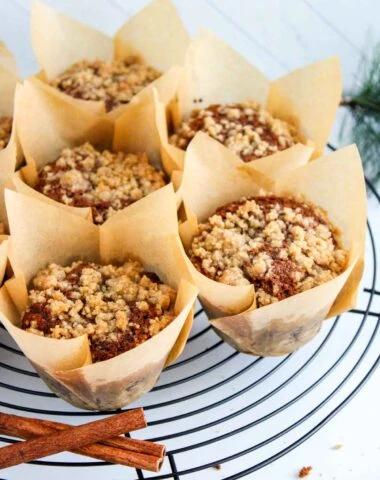
Gingerbread Muffins Recipe
Crock Pot Glazed Carrots Recipe
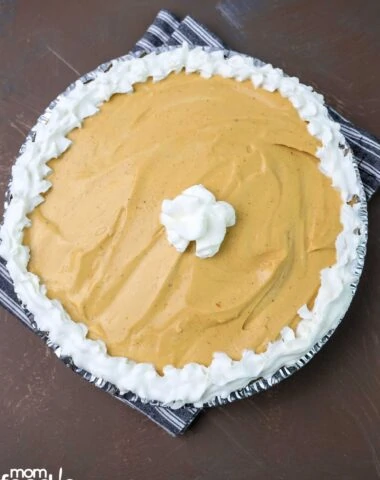
Gingerbread Pie Recipe
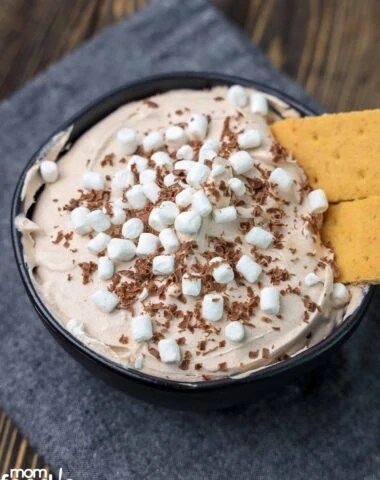
Hot Chocolate Dip Recipe
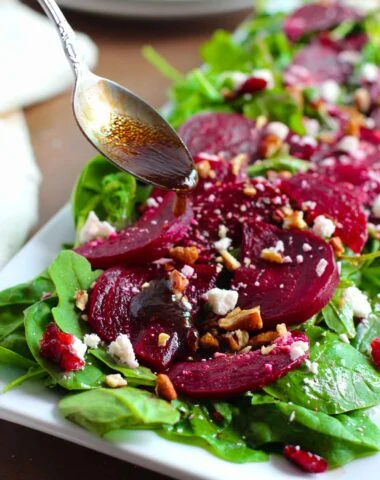
Roasted Beet Salad with Balsamic Vinaigrette
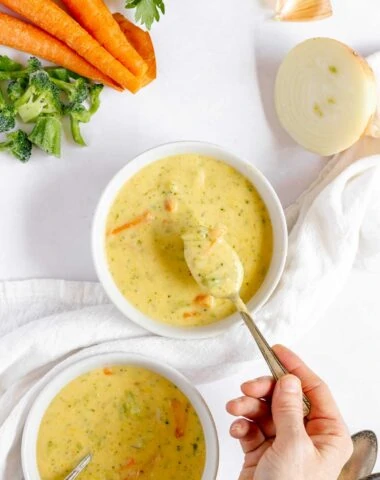
Panera Broccoli Cheddar Soup Recipe Copycat
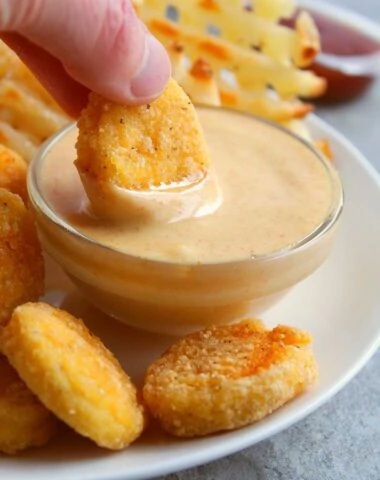
Chick-Fil-A Sauce Recipe Copycat
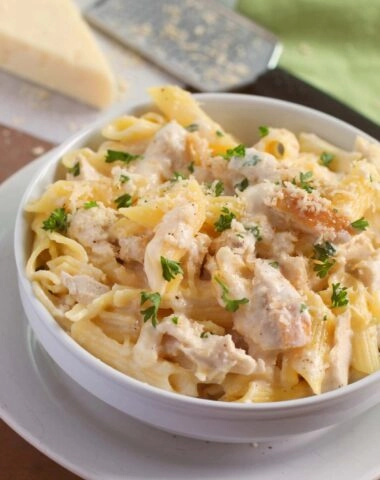
Crock Pot Chicken Alfredo Recipe
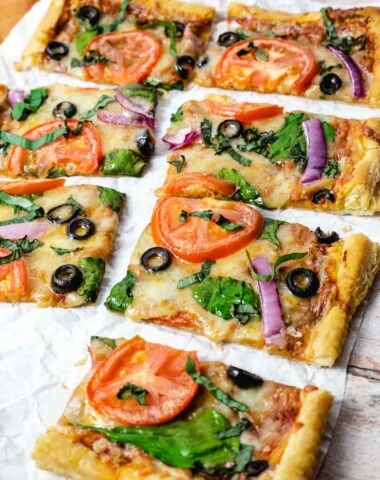
Puff Pastry Pizza with Vegetables
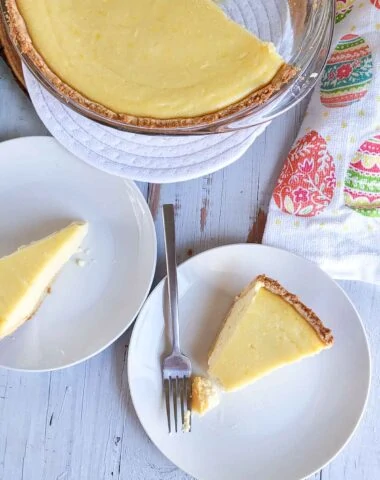
Italian Ricotta Pie Recipe
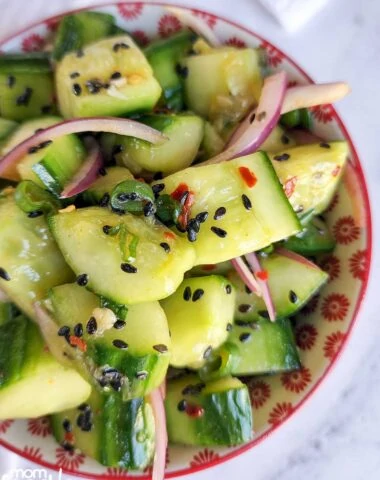
Asian Cucumber Salad
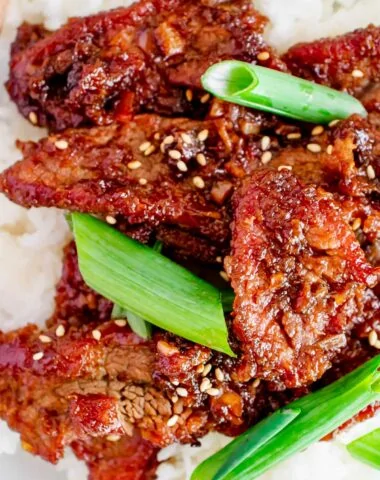
Mongolian Beef Recipe
«
Go to
Previous Page
Page
1
Page
2
Page
3
Page
4
Page
5
Page
6
Interim pages omitted
…
Page
47
Go to
Next Page »
About
Privacy
Contact
Mom Foodie is a participant in the Amazon Services LLC Associates Program, an affiliate advertising program designed to provide a means for sites to earn advertising fees by advertising and linking to Amazon.com